If you are eager to learn how candle dipping works you may study these instructions we put together. The illustration on the right summarises the most imporant parts. Of course we're more than happy to help and explain if you have any questions while you're visiting.
What wick do I use?
The first thing you do before you start is to pick a wick for your candle. The right choice depends on how much time you want to spend and how thick you want your candle to be. We offer the following types of wicks:
| Wick | Maximum diametre (finished candle) | Time required |
| Thickness Nr. 1 | 2.5 cm | 1-2 h |
| Thickness Nr. 2 | 4.5 cm | 2-4 h |
| Thickness Nr. 3 | 6.0 cm | 4-6 h |
We offer these wicks in pre-cut lengths of 25 cm, 30 cm, 35 cm or 40 cm, but if you have special plans for your candle we can give you a custom length wick.
Insider Tip: We recommend you pick multiple wicks and work on two or more candles in parallel. This way you can alternate between dips and the candles have enough time to cool down for the next dip.

The first dip: coloured wax or beeswax?
Now that you've picked your wicks you're ready to get started. You now have to decide whether you want to make a coloured wax candle or a beeswax candle. The two types of wax must not be mixed.
The first time you dip yor wick into the wax pot leave it in for 5 to 10 seconds (until you don't see any bubbles rising anymore) so that it get fully soaked with wax. This is important as it will make your candle burn better and will prevent the wax from slipping off the wick when the candle gets heavier. On all subsequent dippings pull the wick right back out again, i.e., don't leave it in too long, or the wax will melt off again. You should also make sure that you leave about 2cm of wick below the knot wax free. If you leave too little wick it will be difficult to light your candle and it also won't look as nice if you get wax on the knot.
How long do I wait in between dippings?
This is probably the most asked, but also most important question in candle dipping. If you wait for too long between dipping, progress will be very slow; but if you don't wait long enough your candle will soon drop of the wick to the floor. In the last couple of years we carried out several "studies" about this question and we found the following answer:
Wait at least 2.5 - 3 min between dipping
However, this result strongly depends on other factors: the temperature of the wax, the room teperature, how long the candle remains in the wax while dipping, whether the candle is cooled down inside (25°) or outside (0°), which type of wax is used (bees wax or parafin), and many more ...
Therefore we do not recommend to run around wax pots with a stop watch, but rahter pay attention to the following indications, that will tell if your candle is ready to be dipped again:
- The candle should be stable, when being held upside down. That means, it should not bend to the side.
- When touched carefully the surface should feel smooth. If the candle is still too hot to be dipped again, the wax on the surface will feel slightly sticky.
- The surface looks matt and not glossy, when the candle is ready for dipping.
Indications, that you didn't wait for long enough between dipping your candle or that you've left the candle inside the wax for too long while dipping repeatedly are the following:
- The candle is "slobbery" / unstable
- The candle is thicker at the top than at the bottom. (Correct would be thin at the top and then gradually growing thicker as you go downwards.)
- The top most layer of wax partially meltes away and the colour underneath becomes visible.
How can I decorate my candle? Inspiration?
Once the candle has reached a good thickness things start to get interesting. You can now start decorating or otherwise personalising your candle. Here we compiled a non-exhaustive list of techniques and ideas we've used and seen over the past few years. Of course, they can also be combined into new creations, and you may always ask us for assistance.
- Gradation / Stripes
Switch between different colours for your final dippings and every time dunk your candle less than the previous time.

- Twisting
Flatten your candle using two wooden boards while it is still warm enough (but not too warm). After that gently twist it using both hands.

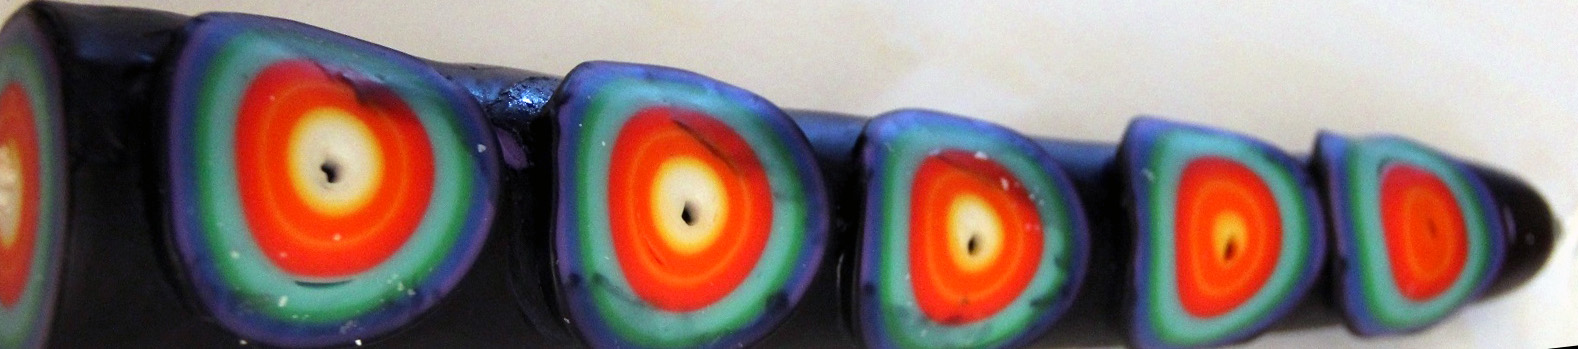
- Cutting
Careful cut into your candle, using a cutter knife, in an almost parallel fashion, then roll away the twin layer of wax away from your candle. This technique yields particularly pleasing results if your candle consists of different coloured layers.


- Attaching rings
Simply cut away a thin ring of wax from the bottom of your candle and stick it onto it. You might need to warm up the ring a bit. Feel free to ask us for help.
- Droplets
Using pieces of spare wax or with the help of the many tools that we provide you can try your hand at dripping little colourful droplets onto your candle.

- Using tape and carving tools
A more elaborate which requires a bit of practise is to use tape to cover up parts of the candle, dipping it again into a different colour and then carefully removing the tape again to reveal the underlying colour again. The details can then be added using our carving tools. Popular patterns include stars, snow flakes, rings, hearts, leaves and twirls.

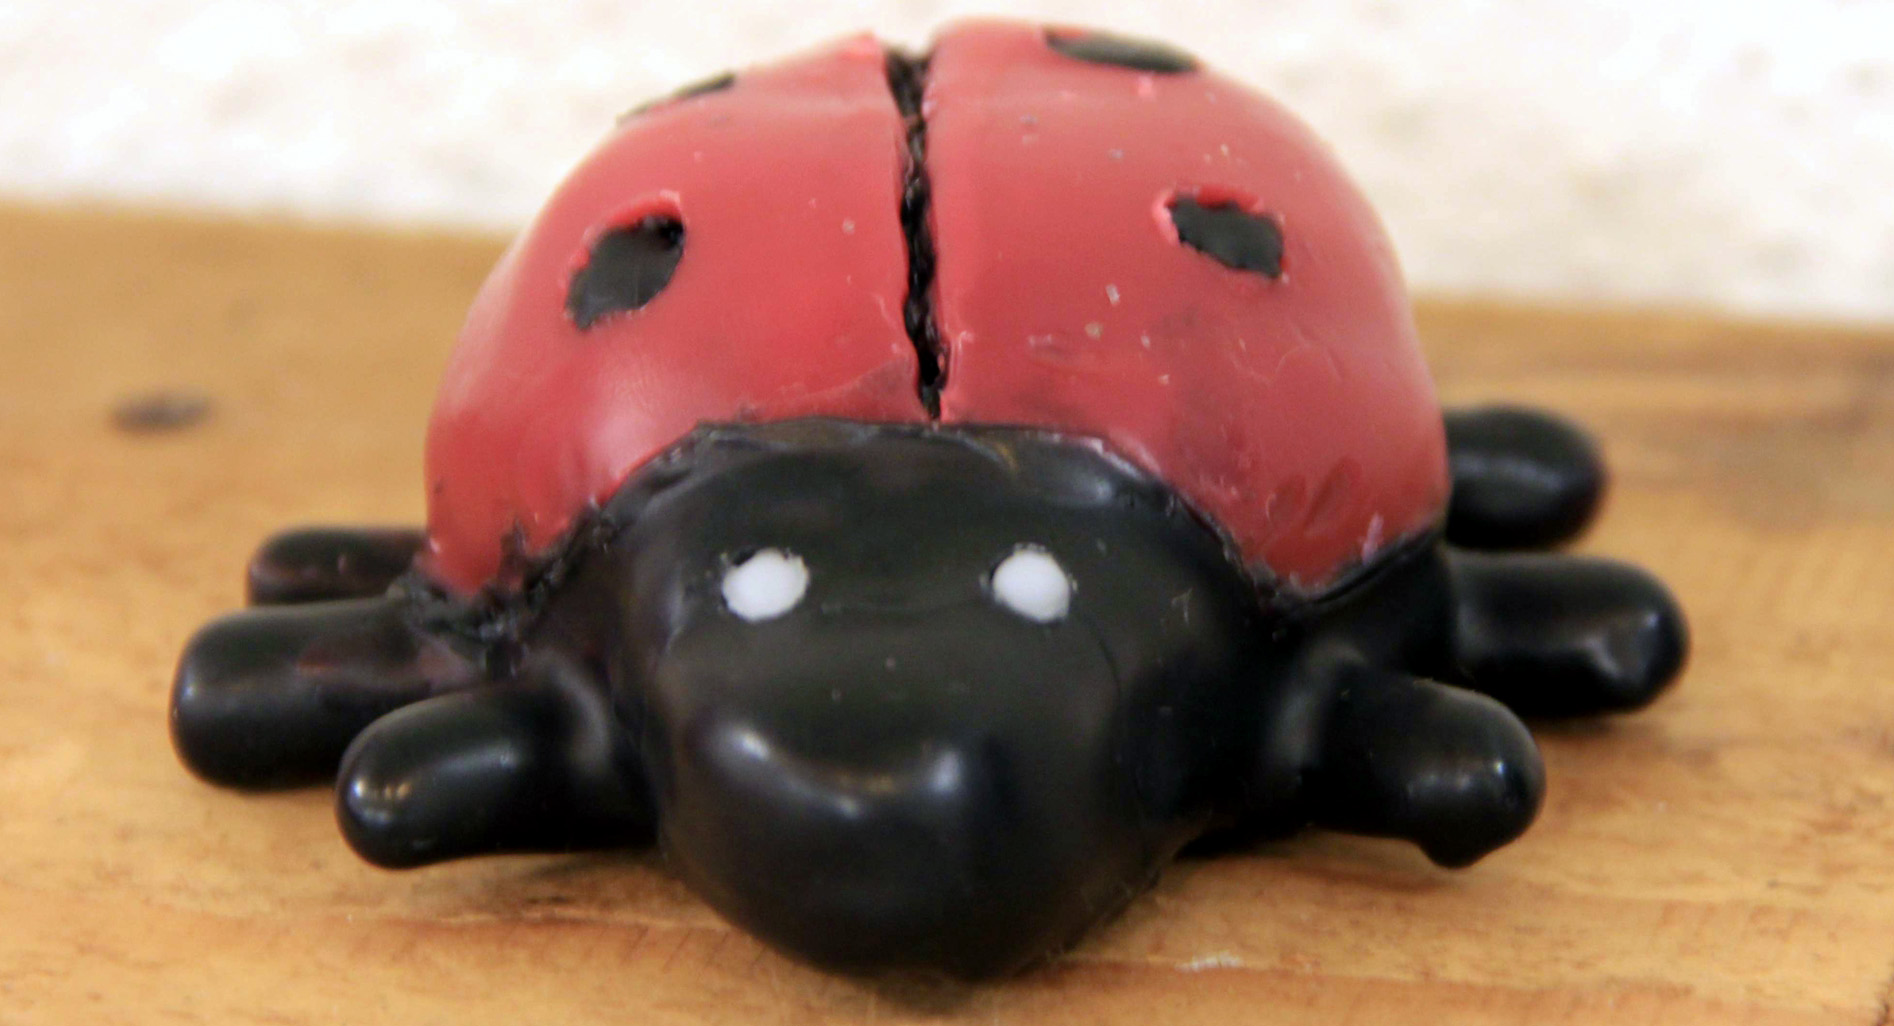
- Wax figurines
Of course you are not limited to just making candles. Feel free to try out other things, like making wax figurines and other creations.
To get more ideas and inspiration we recommend you have a look at the photos from the previous years here or on our Facebook page.
Finishing touch
When you're done dipping your candle you need to cut off the end so that it will stand upright on its own without falling over. After this leave your candle to cool down for another 10 minutes so that it doesn't get damaged when we wrap it for you. Before lighting the candle for the first time we recommend to store it for at least one year.
